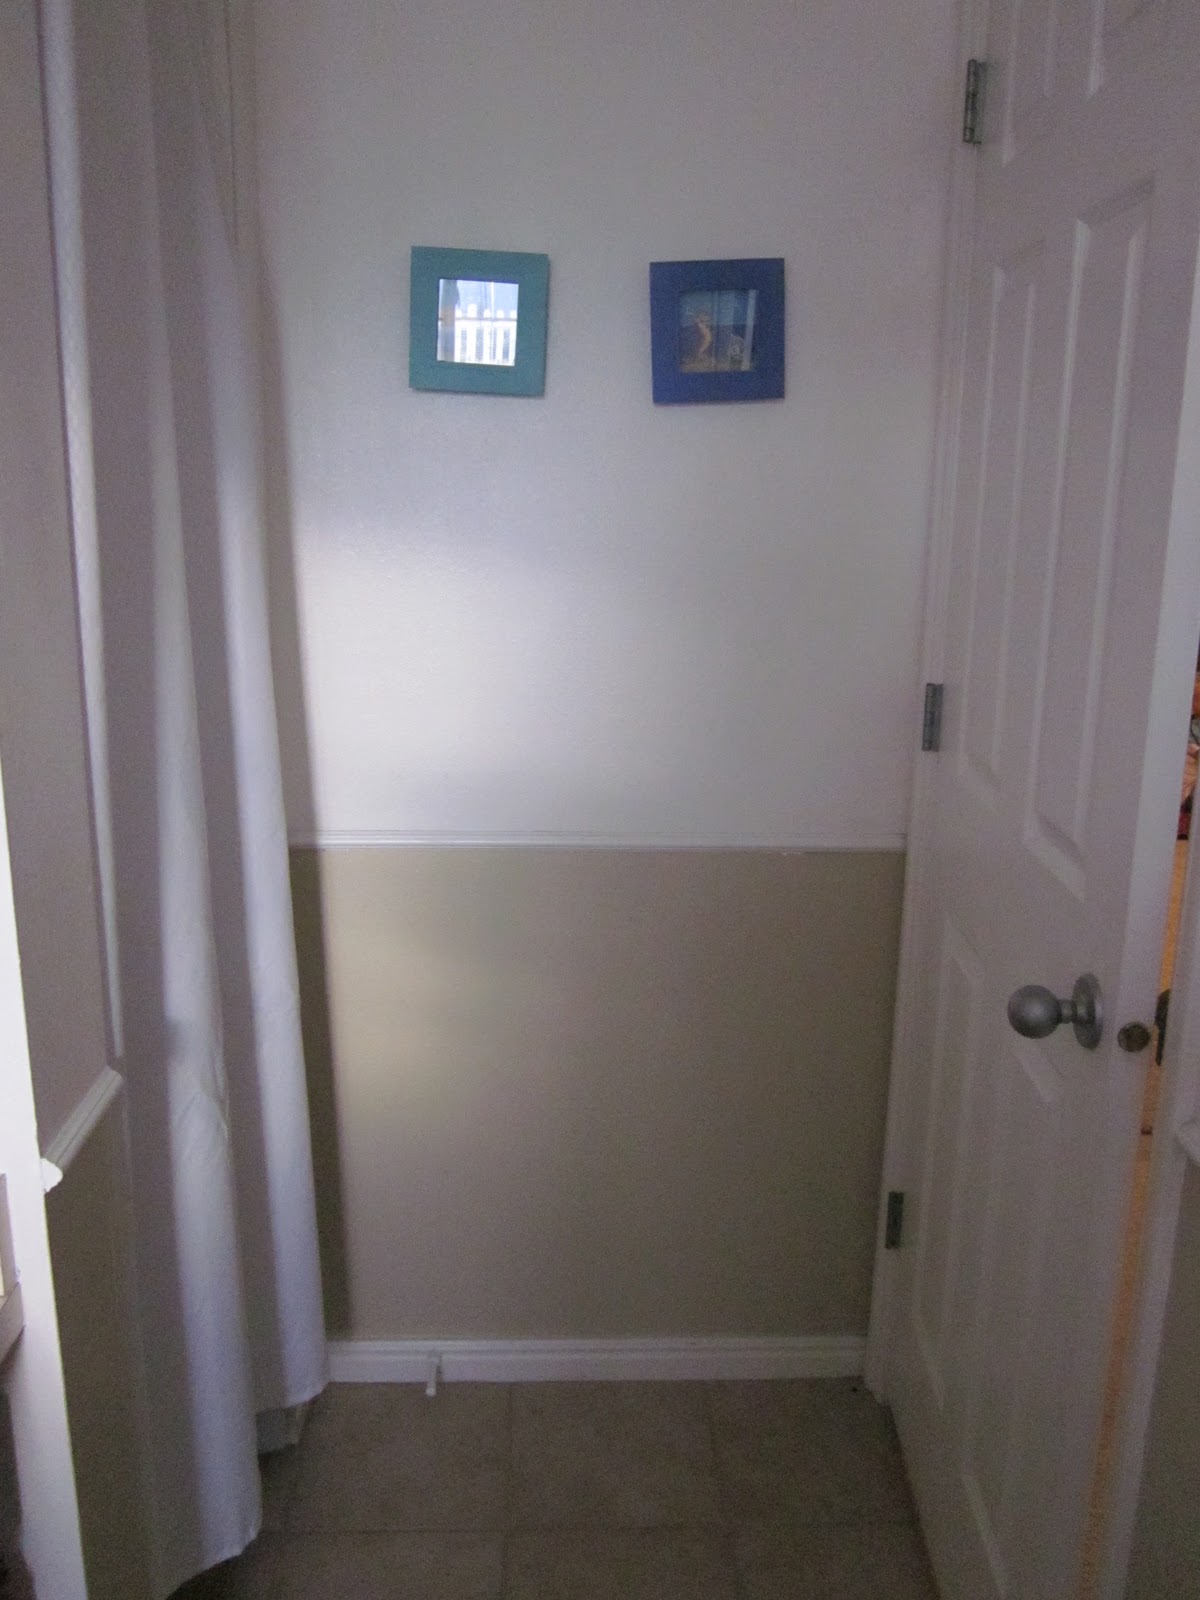
When we moved into our house in 2002 I decorated our 3rd bathroom in "fish". Under water theme with blue paint. Here are the before photos:

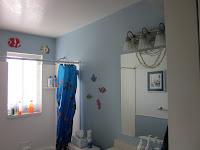
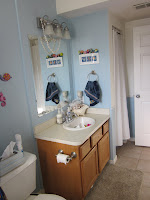


We are a big snorkeling/scuba family so the underwater theme fit us. But the real reason I decided on the underwater theme because when we moved in there was already a "fish" themed shower curtain so I ran with that.
I've been wanting to change it for about 6 months now. I've had the vision in my head and just recently acted on it. My first hurdle was some bubble pain near the shower head. After talking to my dad for advice on how to patch the water damaged wall (every DIYer needs a dad that's a contractor. ;) I went to work with my repair.
First I scraped off the bubbled paint.
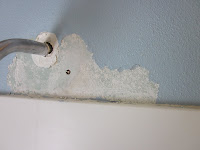
After doing this I realized that the drywall paper underneath was also damaged. So I ripped that off too.

As you can see, the drywall it's self was also damaged (see the 3 vertical cracks?). It looked like brown honeycomb. Very porous and hard. I scraped off the damaged parts of that, and luckily it was only superficial.

Next I used drywall Spackle to level the wall to the height of the existing painted wall.

I sanded the Spackle smooth and flush with the wall and used primer to cover the Spackle.

Then I used this amazing product "Homax Spray Texture" to add the texture back to my patch work. I found it in the paint department at Home Depot. It was REALLY easy to use and wipes off with a wet rag if you don't like the pattern it sprayed.
Another layer of primer to "sandwich" everything together....

And I was ready to start my paint job! I was super happy with the way the patch turned out!
 Join us here every Thursday for DIY Thrify Thursday link party!