Showing posts with label DIY. Show all posts

Monday, September 7, 2015

DIY Halloween Yard Witch


I found this project on Martha Stewart's webpage a few years ago. It was a little time consuming, but the results were worth it! :)

I started with a trip to Home Depot for supplies:

1 panel of plywood ( I used 1/2 inch because I didn't want it to be really heavy it was $11.00 a sheet)
Pipe clamps (same size as the PVC pipe, 1/2 inch)
PVC pipe (big enough to fit your re-bar snug(1/2 inch))
Re-bar (4, 2 foot pieces and 2, 4 foot pieces. I used thicker pieces for the witch)
6 cans of black high gloss spray paint OR High Gloss outdoor latex paint and equipment needed
1 box of 1/2 inch screws
My total was around $25.

I could not get the overhead projector like I had planned, so I printed the template out on the back of some scrap paper I had. The template was easy to layout in grid form. I attached them with a little adhesive glue spray. **I learned after doing the witch, it's easier to tape them together with scotch tape AND use a generous amount of adhesive spray. When the jigsaw gets turned on there is an exhaust that blows the papers around.**


I then took my jigsaw and started cutting out my witch.

I've taken a few close up photos of how to cut the tricky angles. You have to cut into the angles like you would cut a slice of pie. (think triangle) Cut along one side then start on the outside again and cut along the other side. You can't make a sharp turn with a jigsaw blade, if you try you will bend or break your blade.


**Also take note of when the piece you are cutting is too heavy and pulling on your project. Example is when you cut the Witch's dress. I started at the bottom and by the time I hit her waist that scrap I was cutting off was going to be really heavy and might break where I didn't want it to. So I thought ahead and made a cut from the outside toward the waist. So when I got to that point it was already a clean cut with no breaking. (Think of scoring a paper before trying to tear it)

I got the 2 arched cats and 1 witch out of my one sheet. I think I could have fit the sitting cat, but I didn't like it as much as the other 2. **I also drew a lantern and cut it out. The Martha Stewart display has a real decorative lantern, but I was too cheap. :)In order to "cut out" the middle of the lantern, you have to start with a large
drill bit. Drill a hole and then insert the jigsaw blade and start cutting. At first
it's a lot of "chunks" because there isn't much room to move around, then you
can start cutting out the larger spaces.

I used some multi-surface sealant I had to seal the wood before I painted it. I did this because I wanted to use them for the next few years and I didn't want the wood to swell when it got wet.

*I'm on the fence on this process. I sealed it, then painted it. It was a little hard to get the paint to adhere to the wood after it was sealed. HOWEVER, if I had painted it before, and then seal it the wood would have soaked up all my paint. It ended up working fine sealing it first, so I think I would do it that way again now that I know it will turn out. It was frustrating for a while though.


Painting the witch and 2 cats took me 6 cans of cheap Walmart Spray Paint (.97 each). That's 2 coats on each piece. Now, if I had to do this over again.......I MIGHT splurge on a can of Color Place black Latex outdoor paint. The coverage would be better. I think a can costs about $11. I paid less then $6 for the spray paint. I'm on the fence on this one too as to whether it would be worth it to purchase the can of paint. But then you have to mess with rollers and trays and excess paint to store, but it would be faster and your finger will not hurt afterwards......I'll leave that up to you. ;)

Here is my own invention on the stand. First I spray painted the PVC pipes black.

I secured them onto the board with the pipe clamps.


Now when I want to place them, I hammer in the re-bar poles into the ground and slide the PVC pipes over the poles. This seemed to me to be the easiest way to store them without poles sticking out of the bottom of them.

And HERE is the final result!
I'm excited to see what the back light looks like on them. This might not be their "final destination" we'll see. Now I just need to add a broom, although I might wait till after Halloween and pick one up cheap. :)

linking up at Tip Junkie
Pin It!

Sunday, May 5, 2013

How to make a garden planter box

It's that time of year again! Garden prep is under way. If you have been wanting to purchase garden boxes but they are too expensive, check out this DIY money saving project!


The soil where I live is sand and rock so Garden Boxes are a necessity.  When I started I was just hoping to get enough produce to grow to justify the money I was investing.  I did some research and found that the cute vinyl garden boxes are EXPENSIVE!!! Lots of companies and home improvement stores have "kits" that you can use to build your own boxes, but they can be pricey too. Ultimately it's just a wooden box right? That's what I figured, so I started on my garden box adventure.....

Supplies:
Wood planks to make a 12" deep box. So either 2 layers of 6" or 1 12" wide piece. (I used 12X2 pieces that were 12 feet long)
Galvanized screws so they do not rust
Weed paper
Level (a right angle would also be helpful, but it's not necessary)
Drill
Latex paint or some kind of sealant for the wood.
Staple gun
Scissors or utility knife
Top soil

First cut your wood into the dimensions you want. One 12X2 12 foot long piece of wood will make a 3'X4' box or a 2'X6' box. The helpful people at Home Depot or Lowes will cut the wood for you for FREE to take home so you don't have a 12' piece of wood sticking out of your car. :)
Paint your wood to seal it from water and rot. I used a white Latex outdoor paint because I wanted it to match my white vinyl fence. It's important to use Latex as opposed to Oil Based because you will be eating the items out of your garden and you don't want them tainted with oil from the paint or stain.
Pin It!

Tuesday, December 11, 2012

Thrifty Christmas Yard Decorations


1. Take an empty milk jug and fill it about half full of water.

2. Line up several milk jugs along the path you want lit.

3. Then work your way down the strand inserting 1 bulb in each jug.

4. Voila! You have a beautiful glowing path!

As you can see, we currently have no snow, but these look even better when we do! They get covered in snow, so you have a multi colored glowing bank of snow.


    Pin It!

    Monday, July 16, 2012

    Look What I Made Monday! ~Girls Homemade Card


    Okay, so this isn't a recurring feature, I just wanted to show of my creative spark I had over the weekend! ☺

    Once a month some friends in our neighborhood get together and do a "Card Swap".  We figure out how many people are going to participate, make a set number of cards and we all show up and swap them.  Much like a Cookie Swap that people do around Christmas.  You come with 10 cards that are all the same, and you leave with 10 different cards.  It's a great way to use up old scrapbook and stamp supplies that are taking up space in my craft closet. :)

    I had these cute little ballerina slipper brads that I wanted to get rid of use. So of course I started with pink paper then I sat there for about 15 minutes trying to think of how to use them. 
     
    Ribbon and pink paper, that's all I had so far.....then the spark! I rounded the bottom of the card and attached ribbon:
    I attached the ribbon with double sided tape. (Next time I would have made the "shoe" on the pink cardboard THEN attached it to the card so you wouldn't see the ribbon taped on the back of the card)

    And finally in I attached the brads.  I thought it looked cute without them, but I had them and having all boys I wanted to use them on cards that others could use. (plus I think it emphasizes that my card is in fact a ballerina slipper)


    Pin It!

    Monday, March 19, 2012

    Easter Wreath with Peeps! :)

    I made this wreath trio last year because I couldn't decide which Peep color I wanted to do. :) This year they have even more colors, I've seen orange and green peeps!

    Here's what you need:
    • 1 (or 3) 9" wicker wreaths from Dollar Tree
    • Peeps (1 pack of 12 is enough, and they are .98 at Walmart ($1.53 at Target))
    • Paint is optional as is the ribbon to hang it by
    • Hot glue, and lots of it! :)
    I started by painting the wreaths to match the Peeps so the areas where the wreath is visible is not wicker colored.
    Then glue on the peeps.  They attach easily.
    I wired them all together with floral wire I had on hand.
    That's it!  Pretty simple huh?

    *Come join us for DIY Thrifty Thursday @ Thrifty 101, every Thursday!

    Pin It!

    Thursday, December 8, 2011

    Creative Wreaths

    Wooden Dowel Wreath

    I found some Creative Wreaths ideas at Lowes.

    Here are a few of my favorites:
    Wooden dowel and washers
    Wrapping Paper

    You can see all the ideas and tutorials HERE.
    Pin It!

    Tuesday, December 6, 2011

    Edible Snowflake Activity at home

    My boys and I made Edible Snowflakes for lunch today.  All you need is tortillas and cheese, or butter and cinnamon sugar.  Here's how we did it:


    Fold the tortilla in half, then in half again and cut with kitchen scissors like you would a paper snowflake.


    For a Snowflake Quesadilla place a whole tortilla on a plate, layer cheese and top with snowflake.  Microwave till the cheese is melted.


    For Cinnamon Snoflakes lay snowflakes on a cookie sheet, brush with butter or margarine and dust with a cinnamon and sugar mix.  Bake 375 for 5 minutes or until crisp.


    Pin It!

    Friday, October 7, 2011

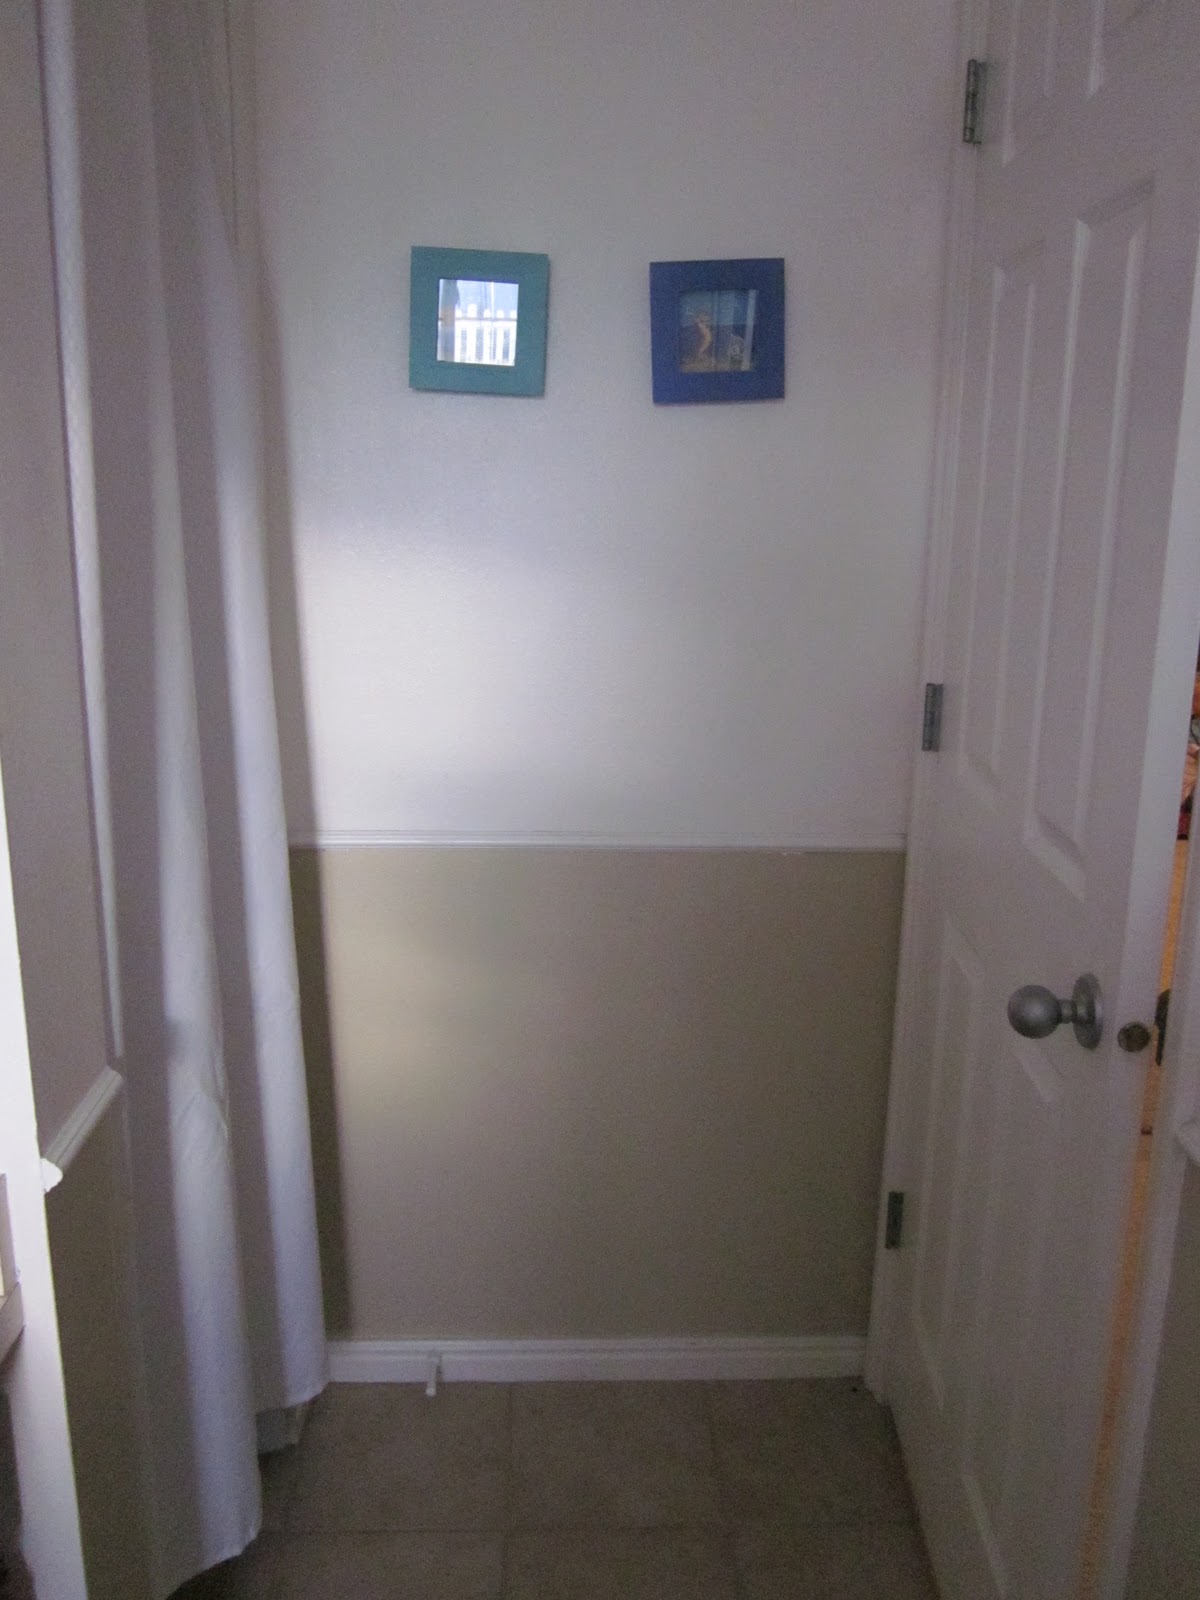
    Bathroom Makeover Revealed!!!

    It's time!!!!!!!  My Bathroom Makeover is FINALLY ready for it's big debut.  Let's start with a few "Before" photos".  Underwater theme with light blue paint, a dark underwater scene shower curtain and orange cabinets:


    And now for the "After" photos:


     Framed mirror and spray painted light fixture.


    So here's what I did:
    1. Fixed a water damaged wall in the shower area.
    2. Primed the blue walls, then painted them white.  
    3. Measured my stripes and used a level to get them all straight.  
    4. Taped the lines and painted alternating ones tan.
    5. Sanded and Stained the cabinets
    6. Framed the mirror with molding that had to be cut and painted.
    7. Changed out the dark plastic showercurtain for a clear plastic one with a fabric cloth one on the outside
    8. Changed out the shower curtain hangers
    9. You might also recognize the light fixture from a previous post where I showed you how I spray painted it a "brushed nickel" color.
    I have another tutorial in the works to show you how I painted the stripes.

    I LOVE how it turned out.  Sometimes during the day I go into the bathroom just to admire my work. ;)
    What do you think?

    Here are a few side by sides:


    Pin It!